

In the last decade, the demand for travel blogs has increased. With time people are now more open to traveling the world, and for all the related information, they look for a travel blog. A nicely curated travel blog can help people to know the basics and what things they should do or expect on their trip.
Anyone can start their travel blog, and if you post your travel blogs strategically, you will surely earn good money and name as well. To help you below, we have listed a few ways that will help you to start a travel blog from scratch.
1. Select the name of your Travel Blog
First things first, zero-in a preferable name for travel blog. The name should catchy and easy to pronounce. Also, it should reflect your blog’s ideology. Since in the future, you would be known for the blog; thus, make sure you chose a name that represents you and your work. However, it should be quirky enough to attract the reader to read your blog. Avoid giving it an obvious name. Look for a trending term. As said before, it should be unique and should not have a name related to the known person.
Also, the URL should be classy and easy to remember. Do not use much of hyphens, and the name should not be too big or small. After selecting the name, look whether the name of the blog you have selected is available or not. Check the domain name on sites like BigRock. It will help you to get the best domain name that, too, at a reasonable price. You can also use the BigRock coupons to get a discount while buying a domain and other services for your blog.
2. It’s Time for Hosting
Once you are ready with your travel blog name and the domain, it’s time to look for the hosting services. There are many reliable companies that will provide you best of the hosting services. In fact, the company from where you have taken the domain name of your blog can also help you with the hosting. You can select a particular package that offers you most of the services that include hosting. Hosting is no less than a home to your travel blogs. In laymen language hosting means a space where you can host your blog. Until and unless you are getting hosting from a credible company, you do not have to learn much about it. The only thing you should be aware of is about the package you have taken and when to update it.
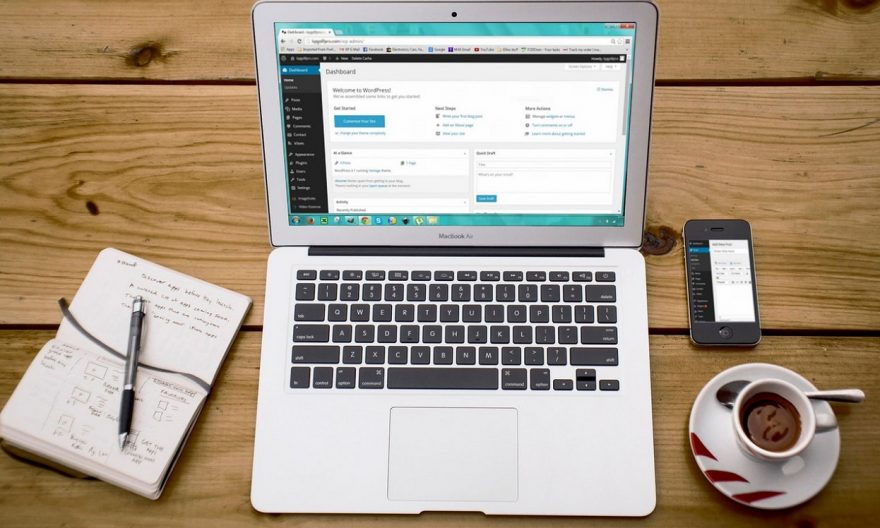
3. Install Word Press
When you are done with hosting and domain name, it’s time for you to install WordPress. You can take the services of WordPress from the same company from where you have purchased the domain name and hosting. Look for a particular package that has all the services that you require and compare it with other similar sites and select the best that offers the best of the features that too at a reasonable price. Pick the ideal theme for your travel blog. Since the theme can be changed in the future, so you do not have to think much about it. Once you have selected the theme, click Start building. Subsequently, you will be asked whether the blog is personal or business. Since it’s a travel blog, then you can opt for business. Subsequently, enter the name of your site along with its slogan or tag line. To start with, you can write any random tagline or slogan and change it later. Click YES on the other page. Then select the welcome page of your blog. Then it would serve as for your business address, which you can skip and move ahead. After a few more yes and no’s, your blog will be started.
4. Log in to your Site
Once you have your site or blog, it’s time to set the credentials, and for this, you would have to enter your id name and the password. Once you log in. You will be able to have a look at the entire panel. If you want to write a travel blog. Click to the dashboard, add the blog with pictures. Once you post the blog, the theme will ask you to make the changes in the format. For example, if you want people to comment on your blogs, you can add a section of comments. You can even customize the comments section. The spam comments will be filtered, and only authentic comments will be visible on the screen. Once done, you can gradually explore other options such as Plug-in, media, pages, and others. You can even directly connect your website with dedicated social media handles as well.
5. Make the changes with time
So now, you have your own blog or website, and you can publish your posts along with the pictures and videos. While posting, make sure you add the right meta title, descriptions, and tags. Also, select the picture wisely. If you want to add or make changes in the image, you can use a tool called Canva. It is available free of cost. You can easily sign in to it and download the image when done and then publish it on your blog. With time you will understand what all features are necessary for your website and what you can remove. Accordingly, you can install Google analytics to check the status of your blogs.
Conclusion:
If you are planning to start your travel blog anytime soon, this blog will be a great help to you. Here we have listed all the crucial steps that you would need to follow to make your blog post successful.
3,090 total views, 3 views today